Saturday, February 23, 2013

Vintage Apothecary Labels

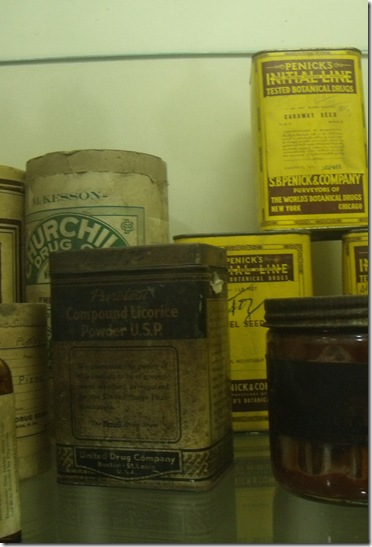
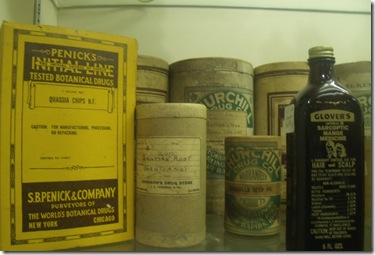
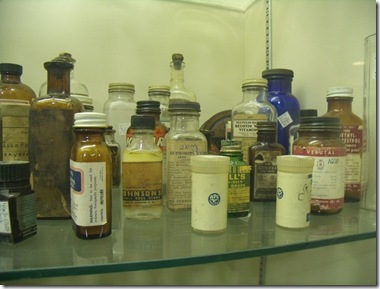
While we were antiquing one weekend, I had fun reading the old apothecary bottles, boxes, advertising and labels.

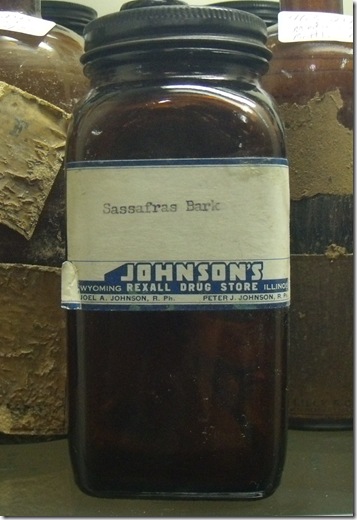
Our friend Sassafras

GEDC8935

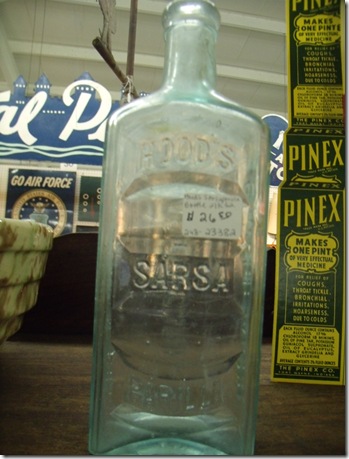
Sarsaparilla

GEDC8947

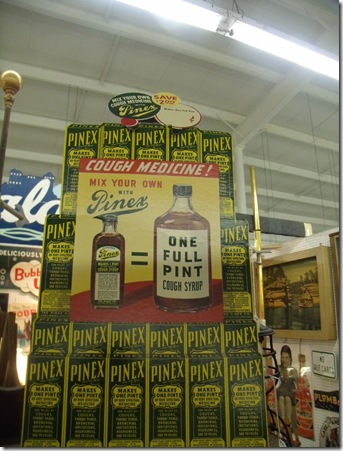
Pine

GEDC8944 GEDC8945

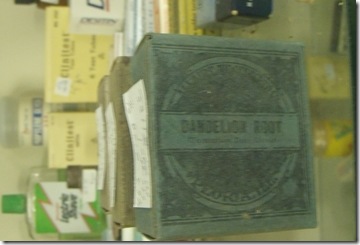
Dandelion Root ( I wish I would have had time to have them open the cases as there were a lot of these type of boxes)

GEDC8933

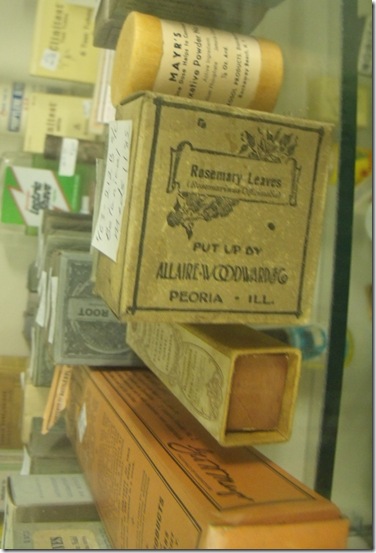
Rosemary

GEDC8932

Marshmallow Root

GEDC8929

Licorice, Caraway and Fennel

licorice, caraway, fennel

Gentian

gentian root

And many others such as Peppermint, Arnica, Rosewater ….

GEDC8926

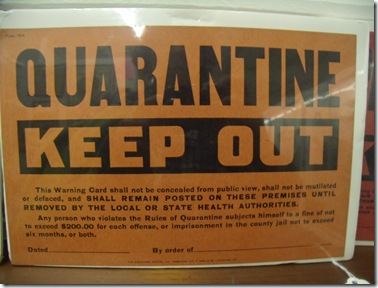
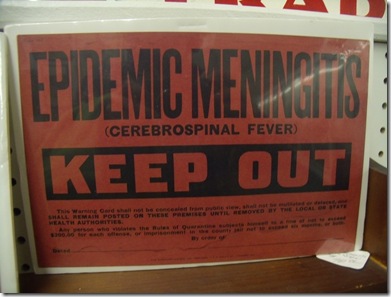
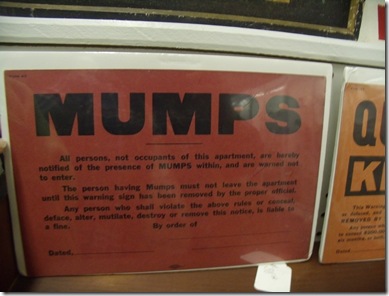
Fascinating to find authentic placards that would be hung to place whole households, ships, hospital rooms and other places under quarantine, especially during epidemics. The practice of quarantine, as we know it, began during the 14th century in an effort to protect coastal cities from plague epidemics. Ships arriving in Venice from infected ports were required to sit at anchor for 40 days before landing. This practice, called quarantine, was derived from the Italian words quaranta giorni which mean 40 days.

GEDC8951

GEDC8952

GEDC8950

GEDC8949

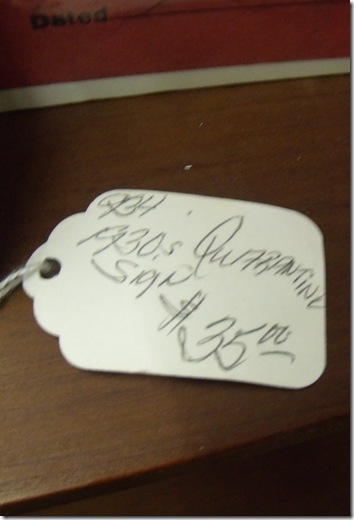
I thought they were a little proud of them, due to the price tag.. but then got thinking about it and figured that these signs would probably have the name of the household, street address, etc labeled on them when they were used. They were probably thrown away or put in the incinerator after use. Not exactly something you would want to save for the family album….

GEDC8953

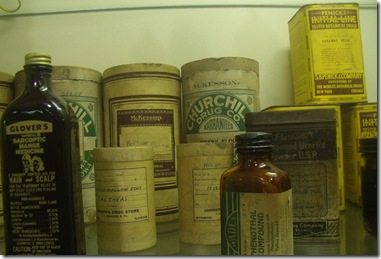
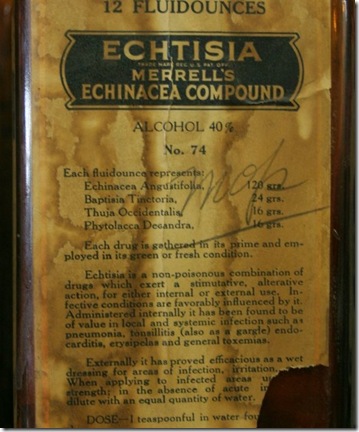
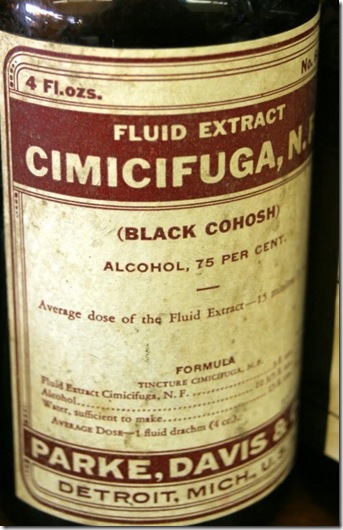
These are some apothecary bottles/labels from an old timey pharmacy that closed in our town, Lewis Pharmacy.

echinacea

wormwoodoil

blackcohosh

The pharmacist who owned the pharmacy was a great collector of antique/vintage pharmaceutical items. His collection included items from as far back as the Civil War!

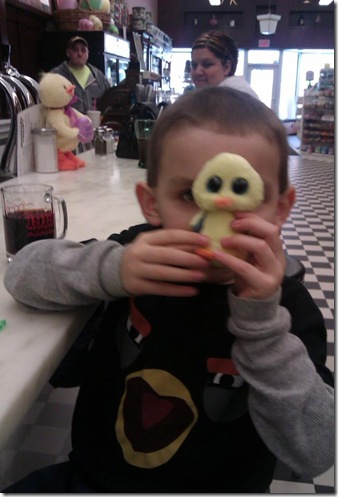
The best thing about this pharmacy for the grandchildren was the ice cream parlour! Ed Lewis kept the prices unbelievably low until the day he retired. I could take myself and two children there and we could all get a phosphate and ice cream for under $5! Luckily a local business, The Sweet Shoppe, moved into the building after Mr. Lewis retired. The prices might have gone up, but we still enjoy the atmosphere and a sweet treat! This is Dylan with a new toy and a mug of root beer :)

dylansweet

Most of Mr. Lewis’s collection was donated to the Pearson Museum at the Southern Illinois University School of Medicine in Springfield, IL. I plan on visiting it next time I am in Springfield visiting my Aunt and will get some more pictures:)

Thinking to send some of the label pictures to be printed and add them to the stillroom book pages!

Herbal and Honey Hugs to all who visit Comfrey Cottages xx

Thursday, February 21, 2013

Beginning the Stillroom Book

The temperatures have dropped too low for the sap to be flowing, but I can’t stand to not be working on some sort of project, so the perfect time to start my stillroom book. My friend Anke did a guest post here at Comfrey Cottages about making a stillroom book last year here.

Sometimes it takes me years to jump into a project… that is just the way I am. I read everything I could about bees, collected bee books, went to meetings, even collected honey pots, etc for 5 years before I ever took the leap to keeping my own bees! Same with the maple syrup making and even herbalism.. Let’s just say I like to have a good game plan and theoretical knowledge of something before beginning :)

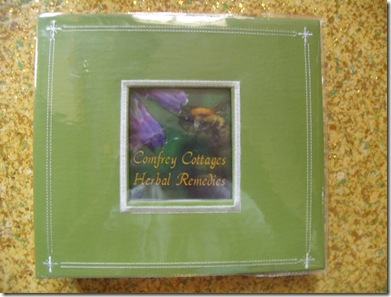
Here it has been 8 months since Anke and I were talking about making a stillroom book… and I am finally started. It took me awhile to even decide which sort of book I wanted. I decided on this kind of scrapbook sort of book that has pegs so you can add pages as needed. I like the fact that it had a cover and pages that I could wipe off if they got dirty here in the apothecary.

GEDC8994

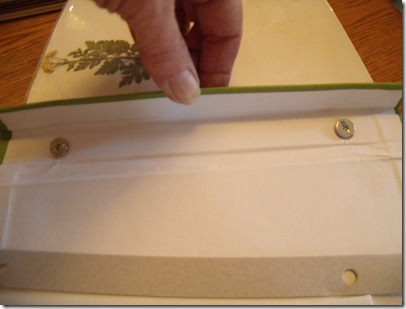
You just open this flap on the inside to take out the screw pegs to rearrange or add pages.

GEDC8997

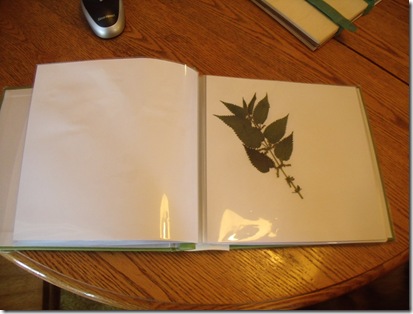
I thought and thought about what all I wanted to include in this book. I decided that botanical samples would be a must. Here is nettles.

GEDC8996

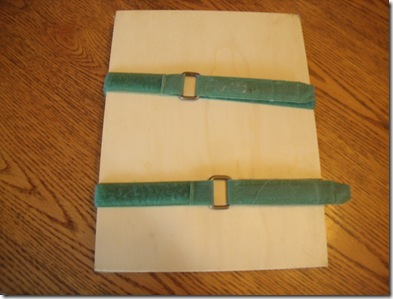
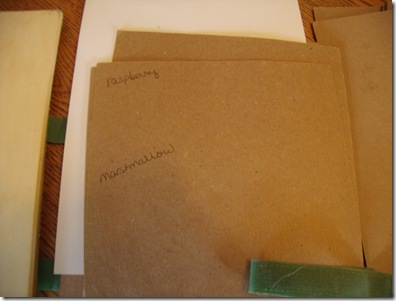
I started pressing flowers and other plant bits last season in preparation for this project. Since actually starting, I have decided I will make sure and include stems, barks, seeds, roots and other bits this year in my pressings. This is the little press I use now. You will note that I label things as I put them in the press. I will just use white out to cover last years labels.

GEDC8998

GEDC8999

My copy of Mrs. Grieve’s A Modern Herbal had been where I pressed botanicals before!

I have been doing a lot of thinking on what I want to include in the writings. I have decided to do short herbal monographs and also include herbal medicine making recipes and herbal edible recipes also. In the interest of not having page after page of recipes I have came up with a great idea to not only save pages, but be neater also, which I will share with you another time :^)

I plan to include drawings, photos, and do a bit of decorating along the way too. I want this to be a functional plus  beautiful family heirloom I can pass on to which ever child is herbally inclined. If more than one child is interested, it will be easy to take the pages out, copy them, glue in botanicals and make a second one.

Tips on habitats the wildings can be found in, and growing requirements for some will be included also.

In future posts about this I plan on sharing with you about the process of gluing your pressed botanicals also. There is an art to it! I find it peaceful and relaxing to do my gluing at the library. They have large tables I can spread out at, great lighting and best of all.. no distractions!

I will continue to share this project as it evolves. Do you have a stillroom book you are working on also? Or a straight herbarium? I would love to hear about it if you do!

Herbal and Honey Hugs to all who visit Comfrey Cottages


Saturday, February 16, 2013

Crafting and Playing Board Games : Wildcraft and Buzz

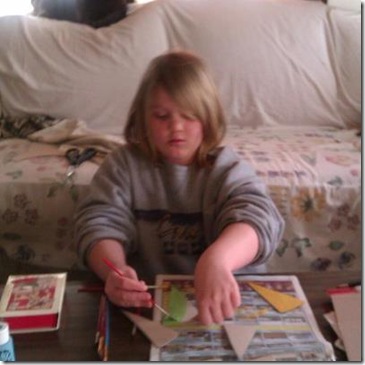
Another day spent sugarin’ which is cooking down the maple sap for syrup. Granddaughter Lily came to lend a hand today. In between stoking the fire, and transferring sap from one pan to another, we crafted and played board games!

GEDC8979

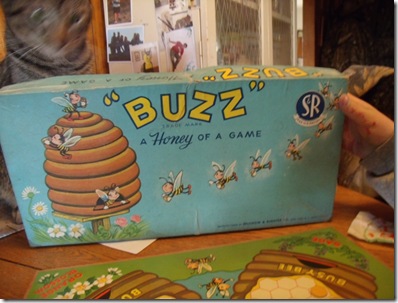
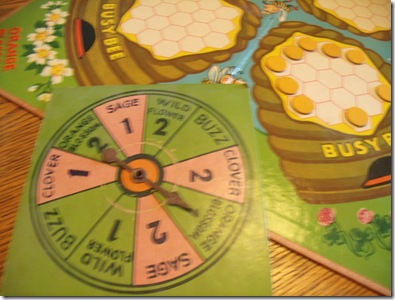
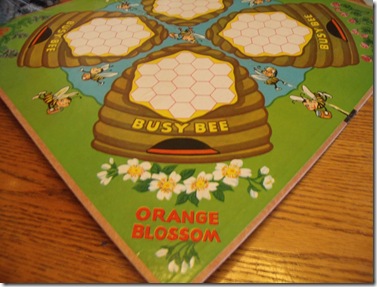
I found this board game at an antique store one time. It is a vintage game from 1955. I found one on ebay when I researched it.

The object of the game is to fill your beehive with honey before your opponent does!

GEDC8981

GEDC8985

GEDC8987

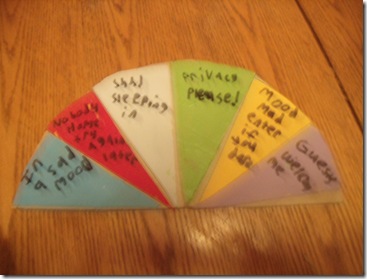
Then Lily crafted this mood indicator to hang on her door!

GEDC8993

We were out of the little paper fasteners so will make the spinner tomorrow. Here is the link we found this project idea at.

lilycraft

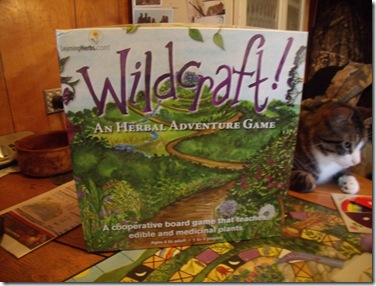
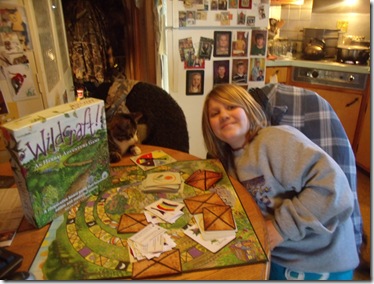
Then we played Wildcraft! The game where you learn which wild plants help heal and soothe our common problems like sore muscles, bee stings, being scared, etc..

GEDC8988

GEDC8990

GEDC8992

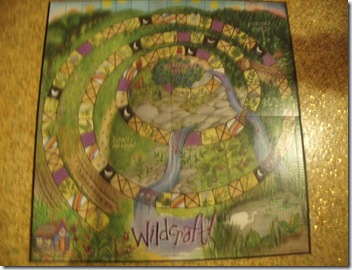
The players are going up the hill to gather some huckleberries for Grandma. They have to be home before dark, or she will have to come find them. Along the way, the kids land on different spots. Harvest spaces you get to take a card from the plant pile. X spaces where they encounter trouble! You can read more details at the link I put in the word Wildcraft above.

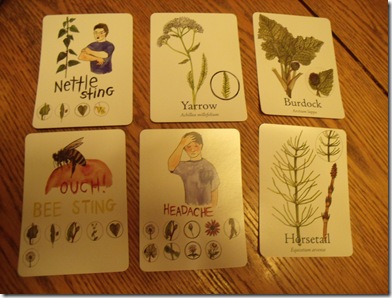
This game is never tiring as each trouble card has lots of different plants that might be helpful, so each time it is played, the child has an opportunity to learn about using different plants for different troubles and also that many plants are useful for many different things!

When Lily and I were playing, she took time to go to our apothecary cabinets and find things like chamomile, and our st. john’s wort oil, as those plant cards were drawn,  so very, very interactive! It’s a cooperative game too, which encourage cooperation between the players. I highly recommend it!

The child learns about 25 medicinal and edible plants. There are 52 trouble cards. Even a child that doesn’t read yet can play. They can just match up the little icon on the plant card, to one of the icons on the trouble card!

GEDC8991

The graphics are so gorgeous and just the thing to help your little beginning wildcrafter learn about the beginnings of plant identification also.

Well off to tend the fire and do more transferring of sap between pans!

Herbal and Honey Hugs to all who visit Comfrey Cottages xx
Thursday, February 14, 2013

First Jar of Maple Syrup

When I started pulling 6 gallons off the trees within a couple of hours, I thought the first round of cooking, to evaporate the sap down to maple syrup, better get started.
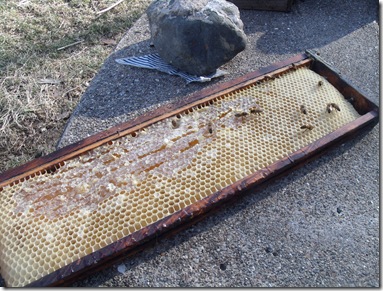
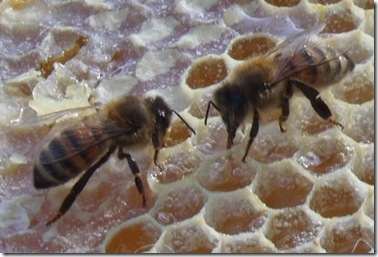
It was nice enough out I was afraid the bees would be attracted to the milk jugs full of sap on the trees and the evaporating pan, so I put out a diversionary honey frame from last years honey super I pulled. This one wasn’t completely filled and capped yet, so perfect! Lots of cells filled with nectar for them.
GEDC8966
GEDC8967
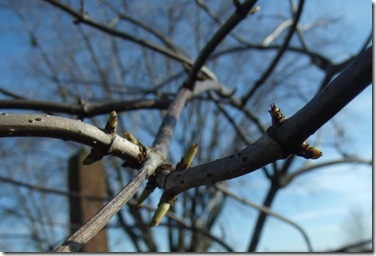
I noticed the elderberry leaves were in bud
GEDC8970
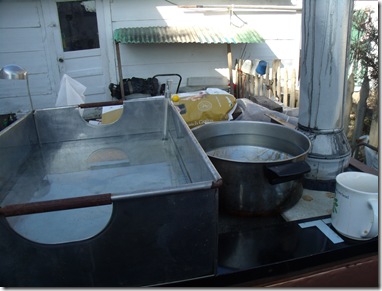
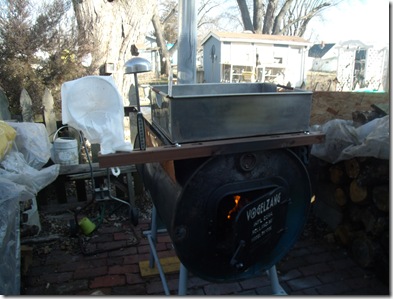
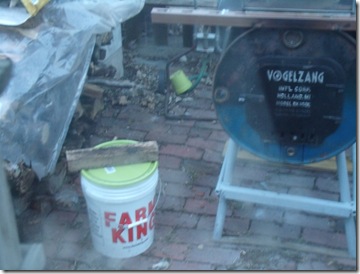
Got a good hot fire started in the stove and poured sap into the evaporator and then spent the next few hours feeding the flame and watching the steam come out of the pan. The pot in the back is used to pre-warm the sap that is waiting to be added to the evaporation pan as it’s level lowers.
GEDC8965
I had to check with my candy thermometer what temperature water was boiling at. It doesn’t always boil at 212 degrees. When I found that temperature I was suppose to add 7.1 degrees to that figure, to find the temperature the evaporated sap would be at the correct stage to have turned to syrup.
GEDC8963
That is a strainer covered in cheesecloth on the left and my dipper to transfer from pre-warming pot to evaporation pan.
I had to keep adding lots of wood to the fire to keep it roaring hot. Unlike a home heating wood stove, where you can get your fire going good, close the door and just periodically add wood, the fire needed for this had to be roaring hot constantly, with the door opened a little for the extra air needed to sustain such a fire.
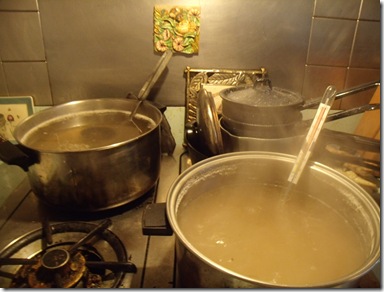
I started out with about 10 gallons of sap and cooked it outside for 5 hours. Today, I brought it inside for the finishing off, the actually syrup making. I am using the two pot method again, with one pot extra hot for the syrup making and the back pot to transfer from. I have my stove vent on too, so all that sticky evaporated moisture doesn’t get on everything!
GEDC8972
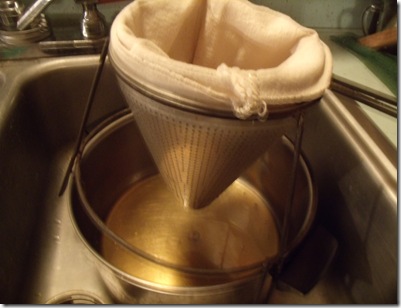
 I was nervous about knowing exactly when it was evaporated enough to be called syrup. In my book it said that the bubbles change, coming together and rise up. Then, if you dip a metal spatula in it and the liquid comes off in a sheet, not drips like it would if you dipped it in water, then it is time to bottle it. I kept checking with the spatula, and suddenly.. it was perfect! I boiled it a minute or two more and then strained it to remove any impurities such as tiny pieces of bark or wood ash that floated in from the stove pipe on the wood stove.
GEDC8976
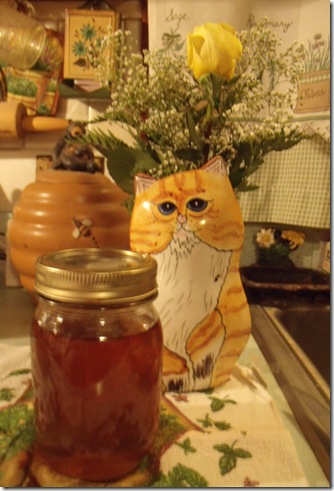
And for all that time and effort I got this…
GEDC8977

One totally delicious, wild foraged, and homemade jar of pure maple syrup! lol! I knew this first batch wouldn’t make much, but I was so excited to get started I went for it anyway! I have about 30 gallons waiting to be processed this weekend and.. the season lasts about 6 weeks so I anticipate more to come!
Sending out a special Valentine shout out to my ever patient, ever helpful Honey Hubby! He always supports and helps out with my new adventures like a real trooper!
Herbal and Honey Hugs to all who visit Comfrey Cottages xx
Tuesday, February 12, 2013

From Jugs to Buckets! And some Antiquing

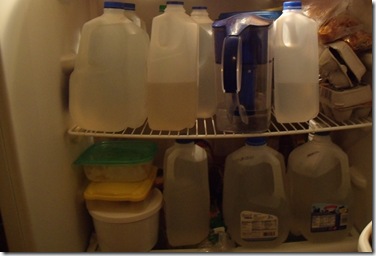
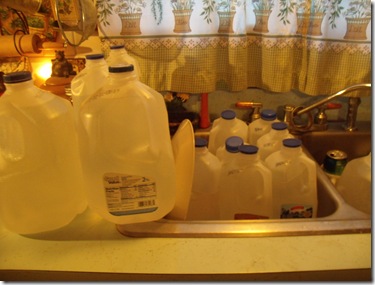
Well the maple sap flow has started! I am graduating from storing it in milk jugs
GEDC8960
GEDC8959
To five gallon buckets!
GEDC8961
My four year old grandson, Dylan, was thrilled to help dump the container jugs off the trees today. He wanted to make sure we weren’t hurting the trees, and when I reassured him, he got so excited! He said it was the best day ever!
Hubby and I took a little trip antiquing Sunday. Good thing we did, because average time for the sap to flow is 6 weeks.. looks like I will be pretty tied up for awhile. It depends on the sugar content of the sap, but on average, from what I have read, about 50 gallons of sap is needed to make 1 gallon of syrup! I have 20 gallons in 2 days. It is flowing faster and faster today. Dylan and I emptied all the tree containers about 2:00 and when I got home at 5:00, I had to dump them again. I think I will get the fire started tomorrow and start the first round of evaporation.
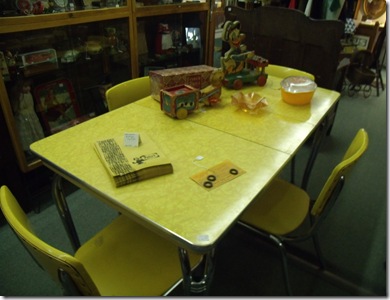
I will show you a couple of my “lust” items I saw at the antique stores… This gorgeous yellow table and chairs. I adore the happy feeling of yellow
GEDC8942
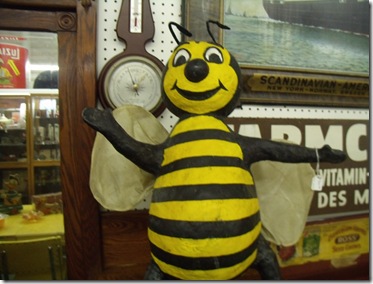
This fabulous old paper machete  bee
GEDC8938
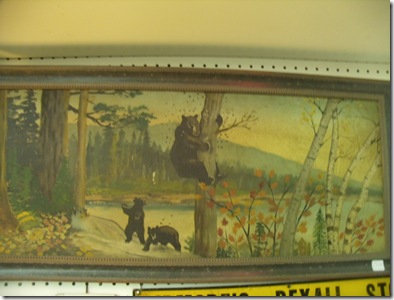
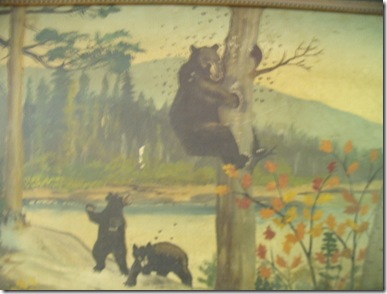
This great old picture of a bear robbing a honey tree with her cubs anxiously waiting
GEDC8940
GEDC8941
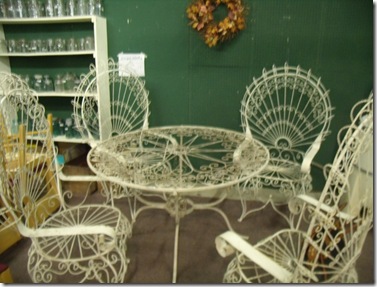
And this over the top patio table and chairs! Which I would so repaint in some great colors!
GEDC8934
More about antiquing later! I have to rush to check my jugs!
Herbal and Honey Hugs to all who visit Comfrey Cottages xx